Find out how to filter your WooCommerce products by category with the help of JetSmartFilters for WordPress.
Before you start, check the tutorial requirements:
- Elementor (Free version), Block editor (Gutenberg), or Bricks
- WooCommerce plugin installed and activated
- JetSmartFilters plugin installed and activated
- JetWooBuilder plugin installed and activated
Create Product Categories
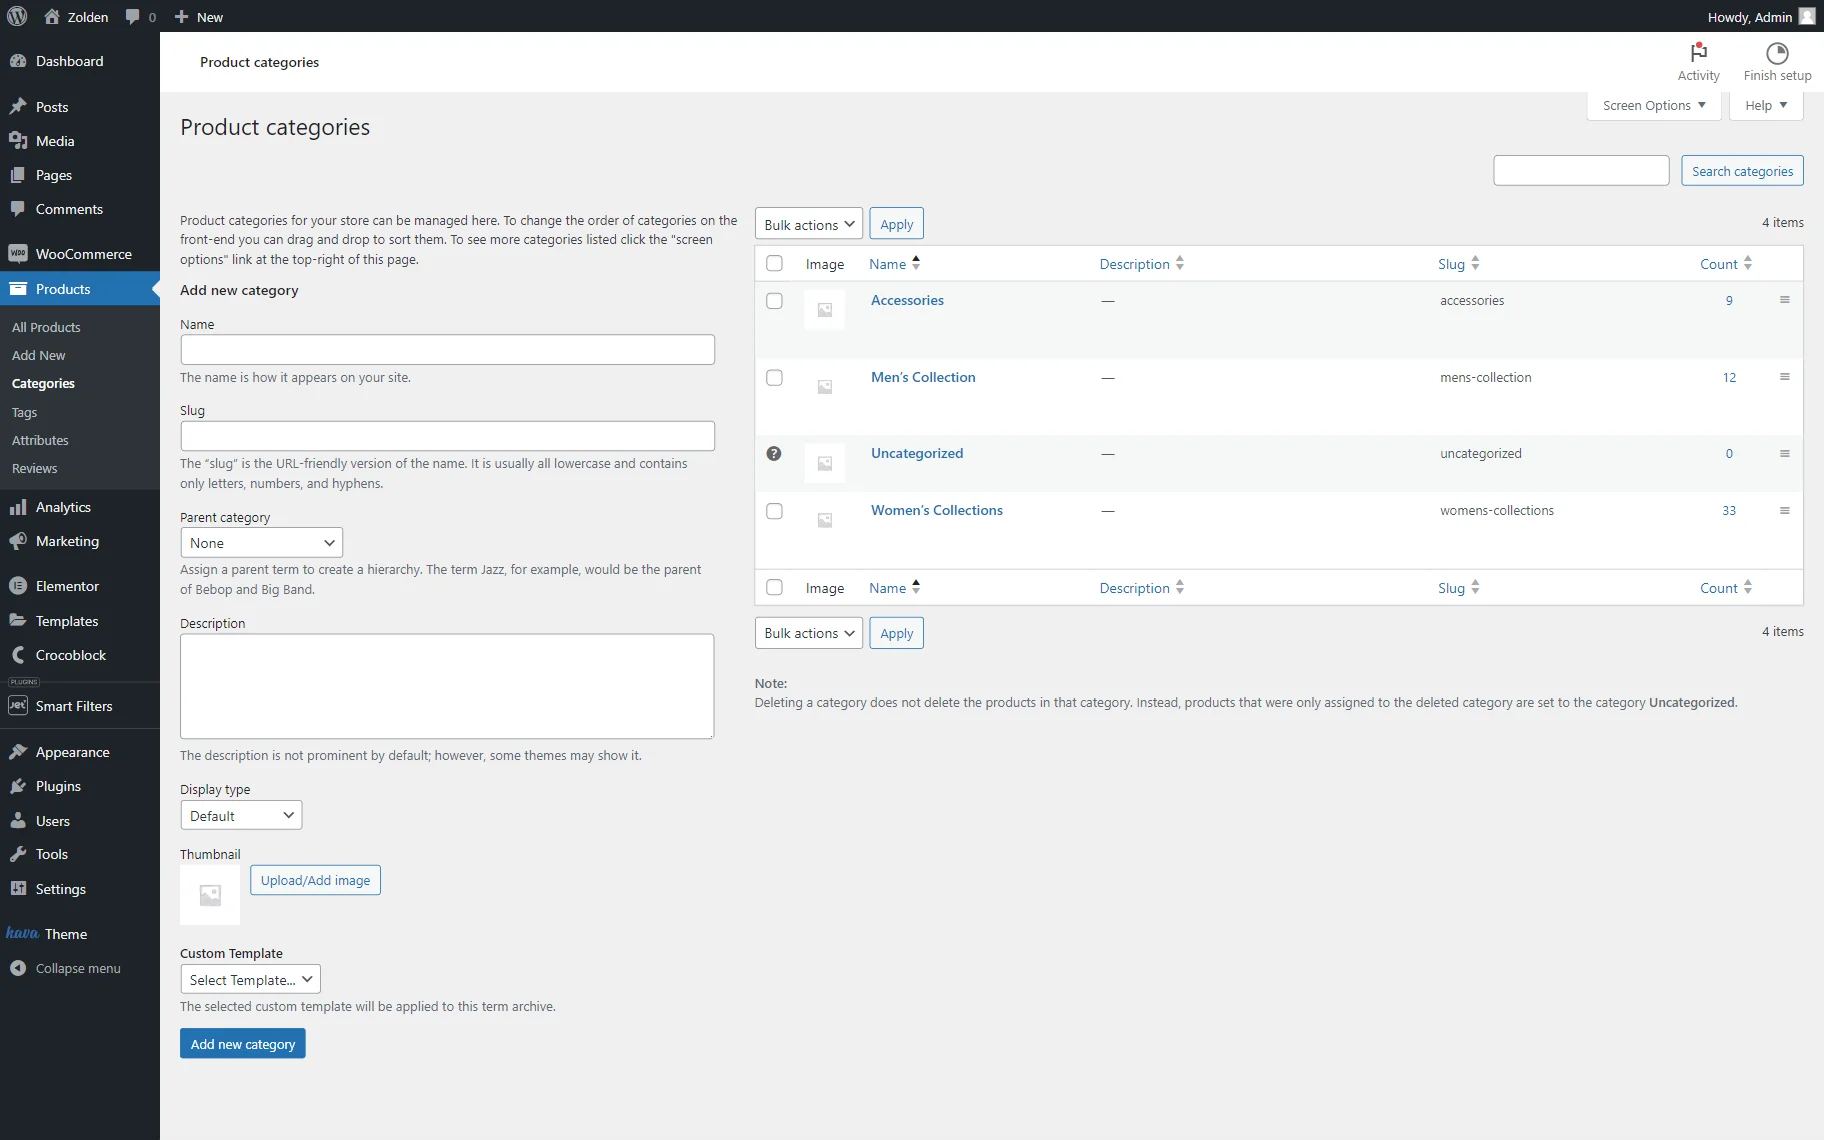
Navigate to WordPress Dashboard > Products > Categories. Here, you can see all your product categories and the number of products assigned to them.
You can also create a new category in the Add new category section. To display a category in the sorting list, you should assign at least one product to it.
Create Filter
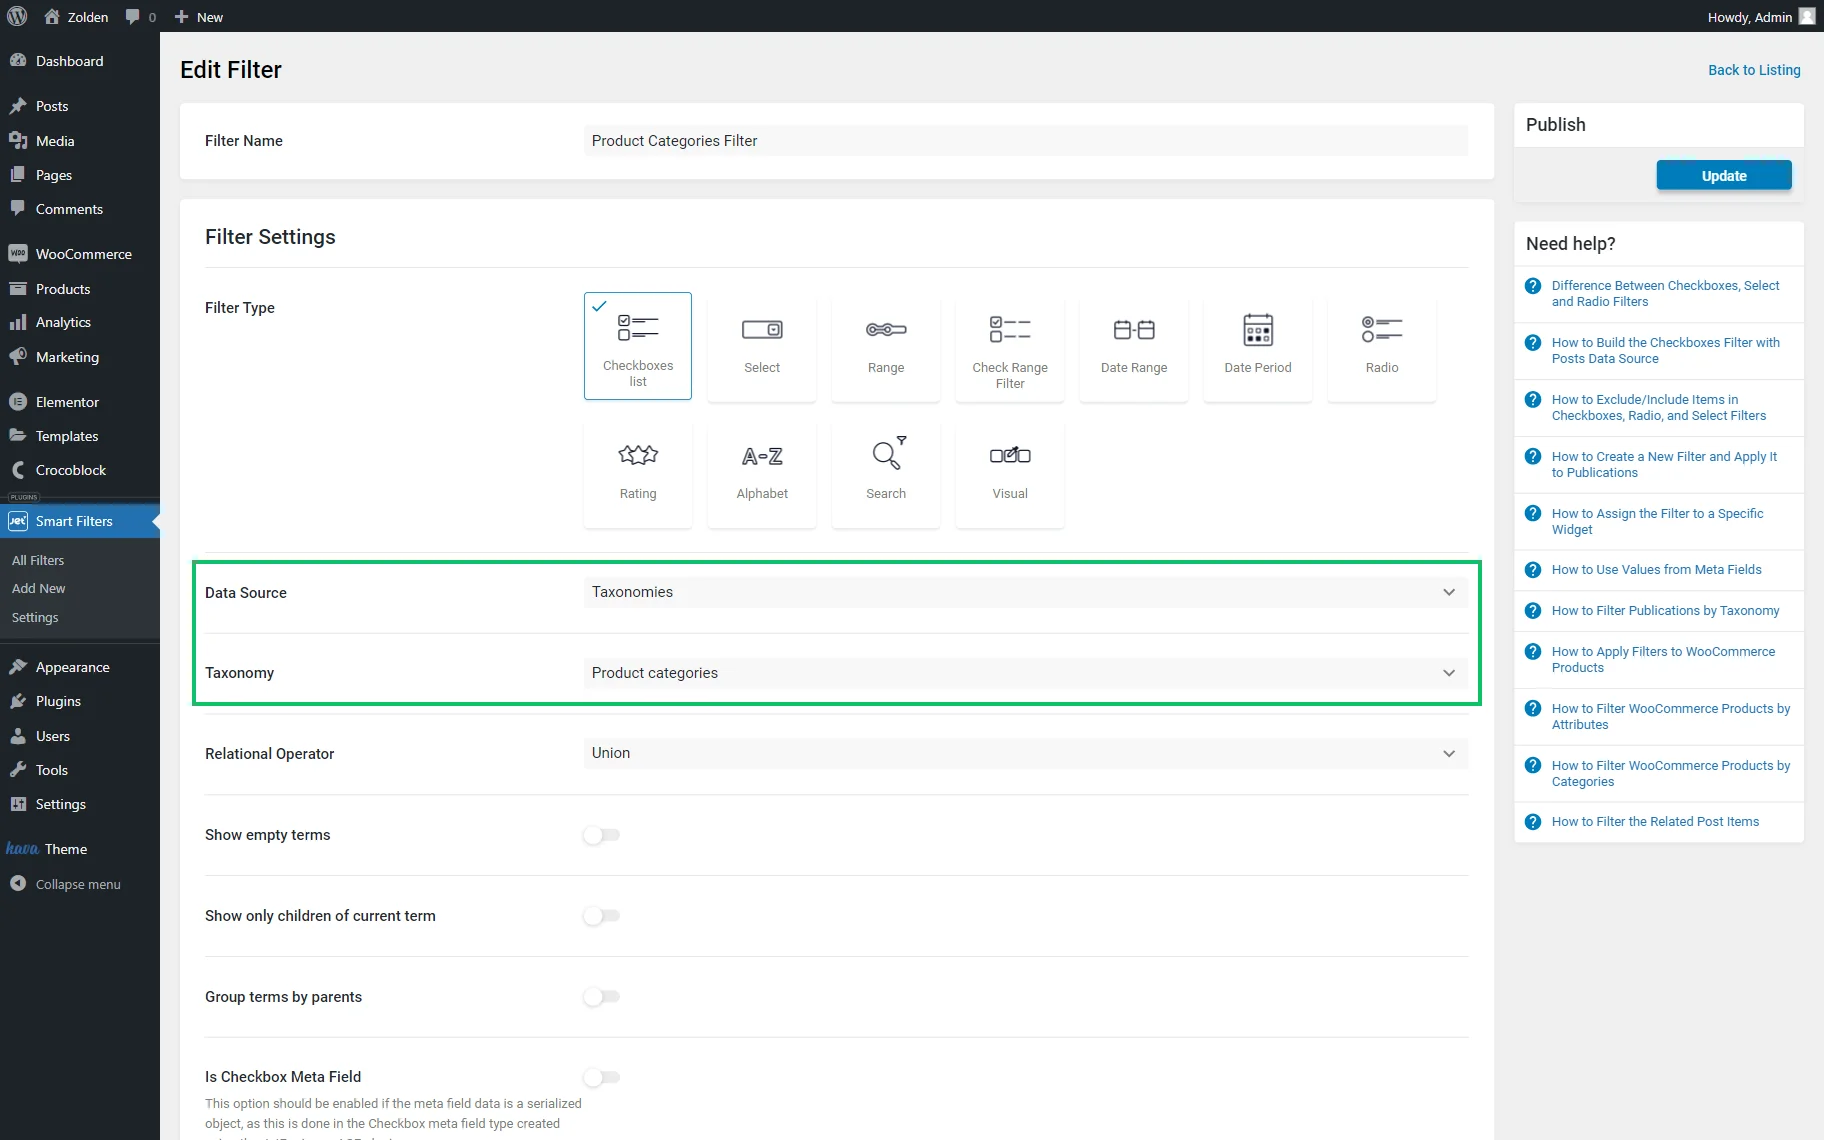
After that, go to WordPress Dashboard > Smart Filters > Add New to create a filter.
Complete a Filter Name in the opened filter editor.
In the Filter Settings section, select a Filter Type. Choose between “Checkboxes list,” “Select,” “Radio,” and “Visual” options. For instance, we choose the “Checkboxes list” option.
To make a filter by category, pick the “Taxonomies” Data Source and choose “Product categories” in the Taxonomy field.
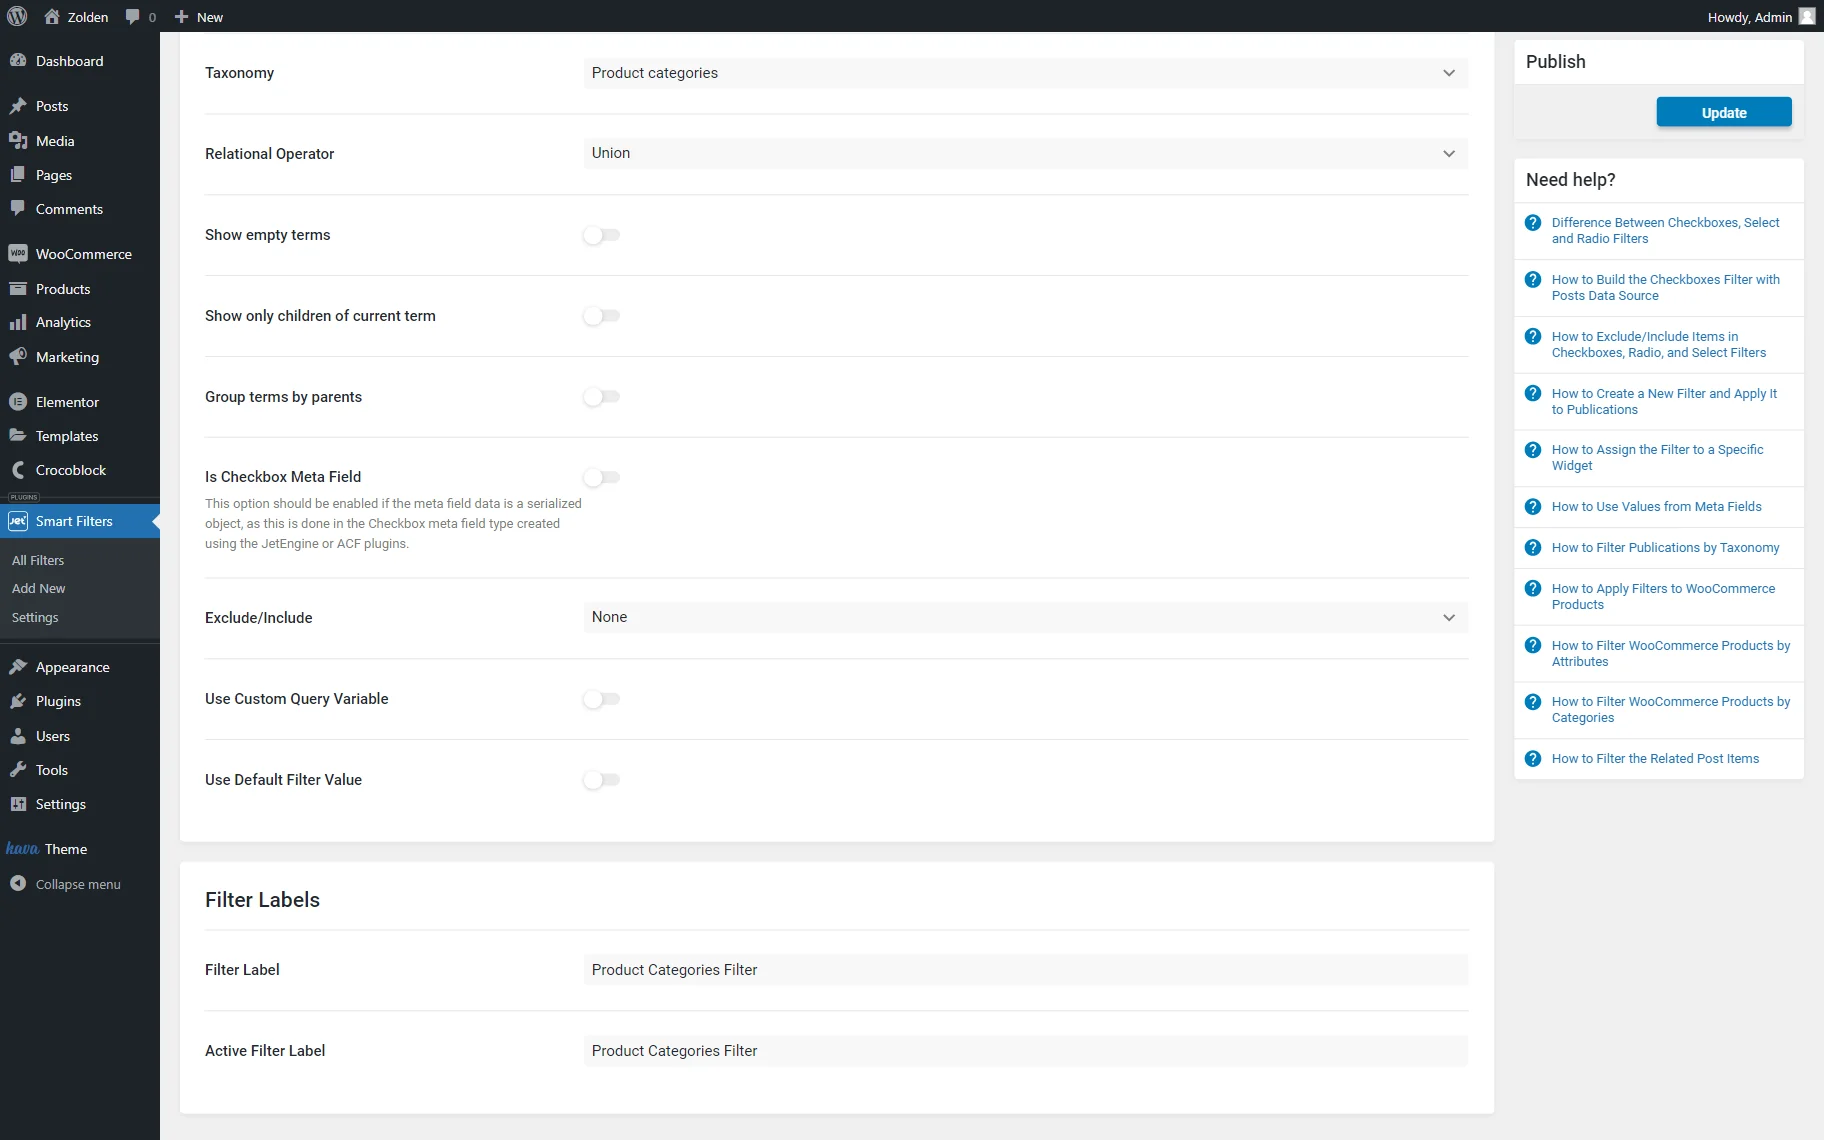
Customize the filter additionally if needed; specify the labels in the Filter Labels section.
Afterward, click the “Update” button.
Add Filter to Page and Assign it to Products Grid
Open the needed page in the preferred editor. It can be Elementor, Gutenberg, or Bricks. For example, we work with Elementor.
First, we add a column layout to display the content in two separate columns.
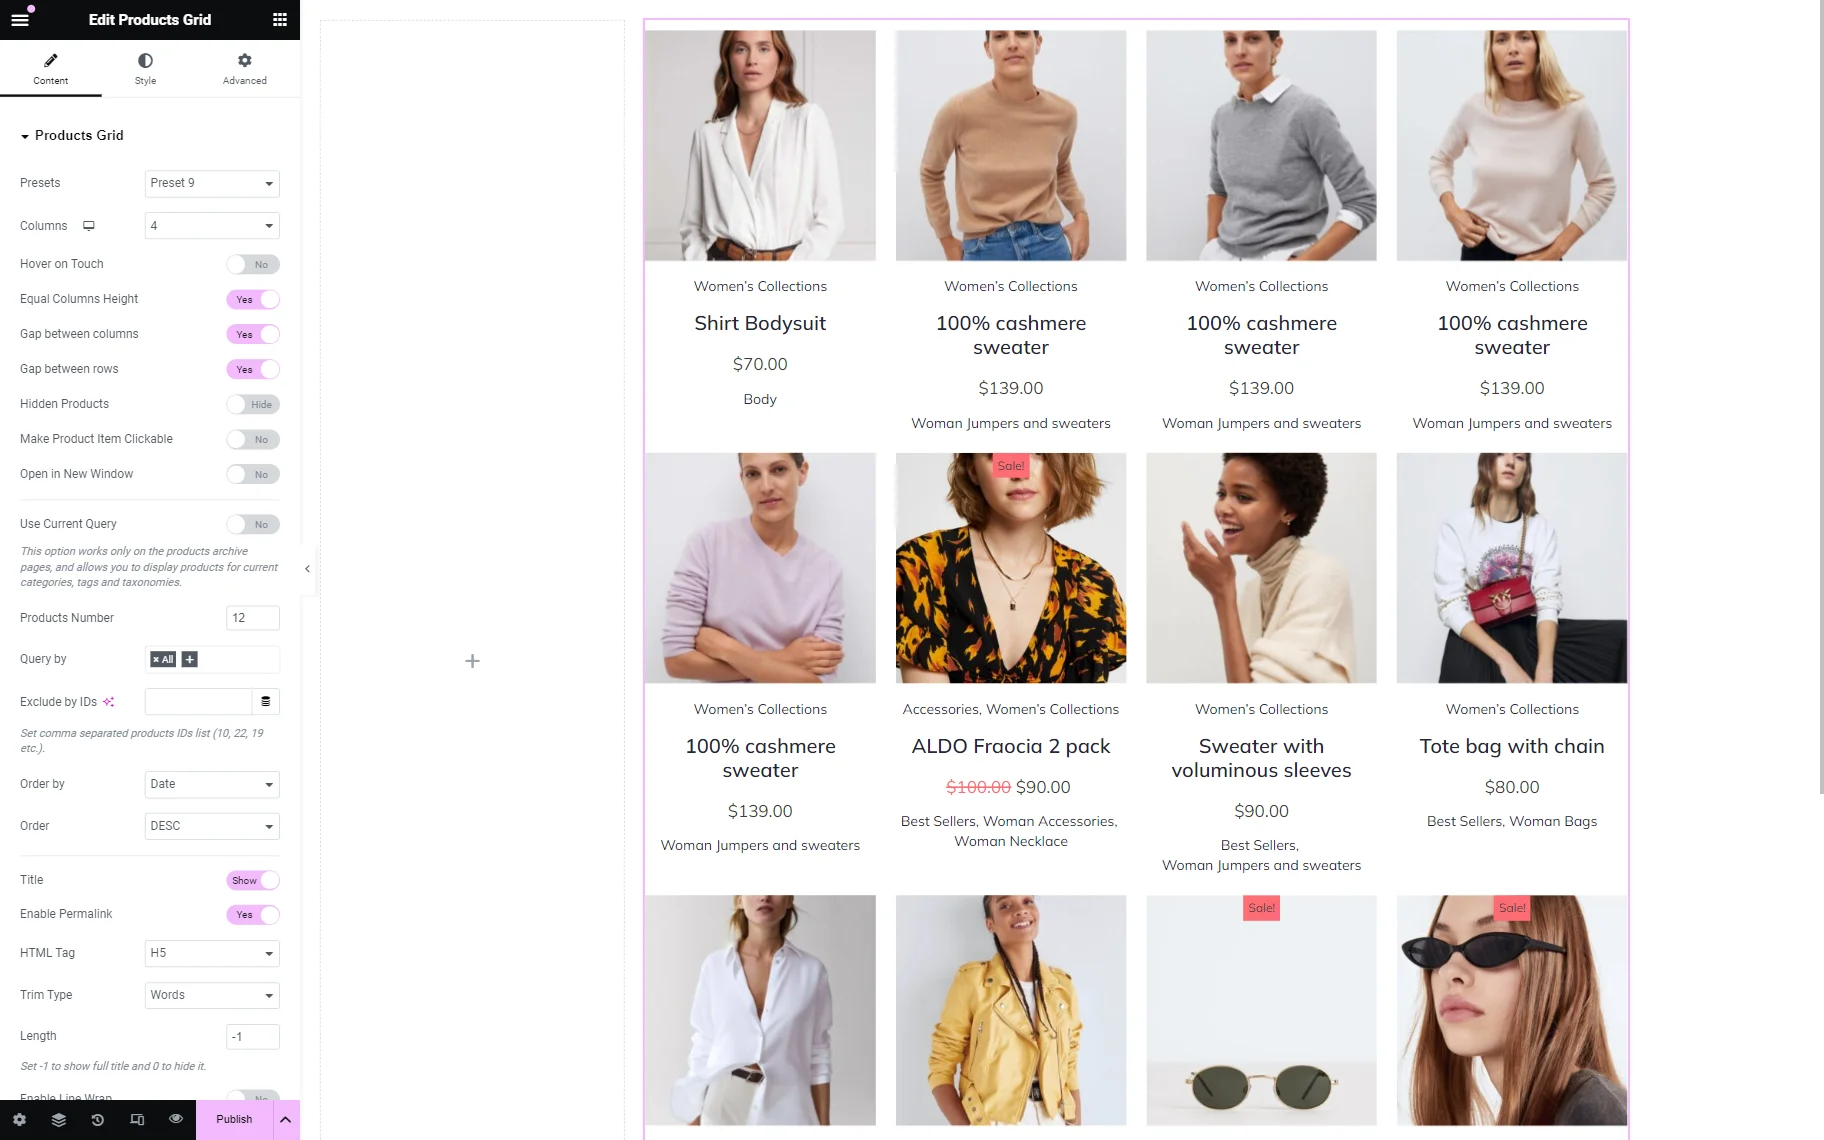
The Products Grid widget of the JetWooBuilder plugin can help you showcase your products, so add it to the page. In our case, it is located in the second column.
Adjust its settings according to your preferences.
We return to the first column, add a “Filter by category:” Heading there, and customize it as desired.
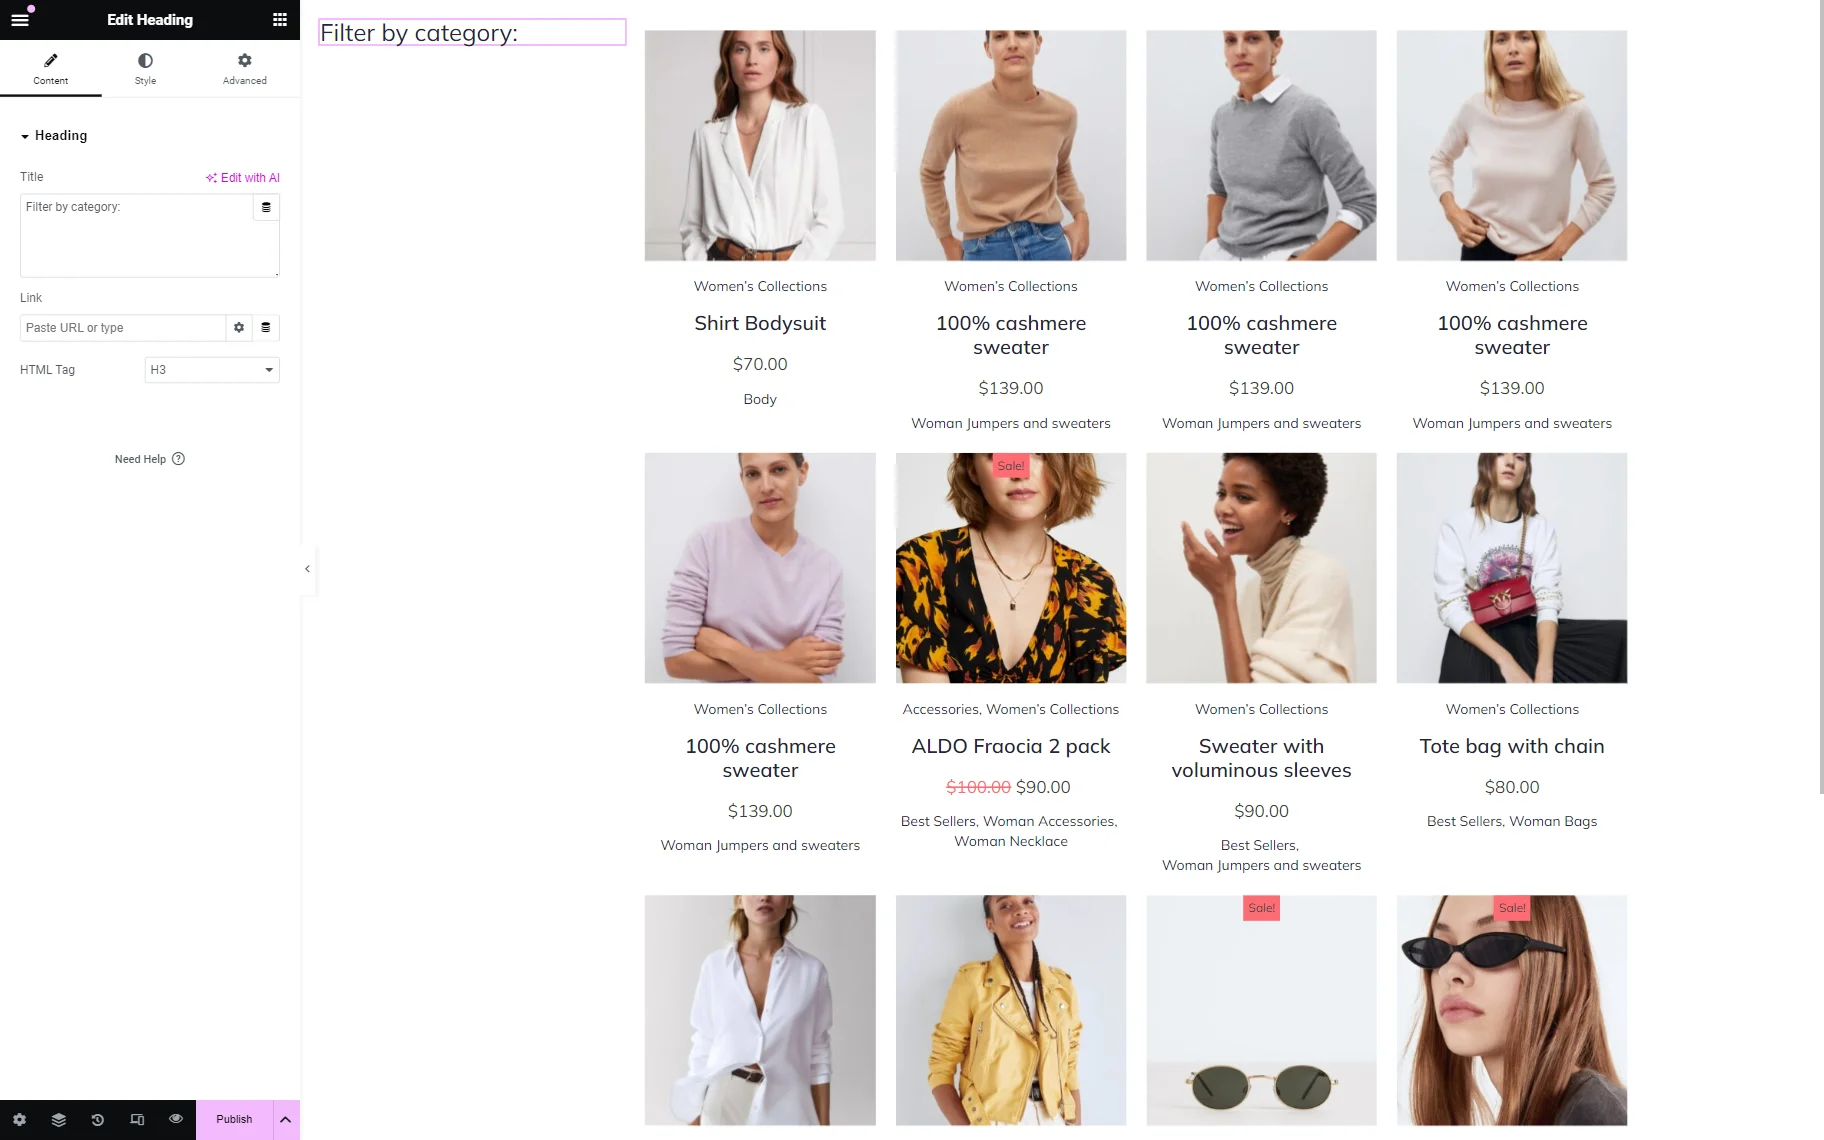
Then, drag-n-drop the corresponding widget to the section where you want to place it. In our case, it is the first column.
Navigate to the Content settings tab and choose your filter in the Select filter field. Select the “JetWooBuilder Product Grid” option in the This filter for field.

Style up your widgets, and when you are done, click on the “Publish/Update” button.
Check the Result
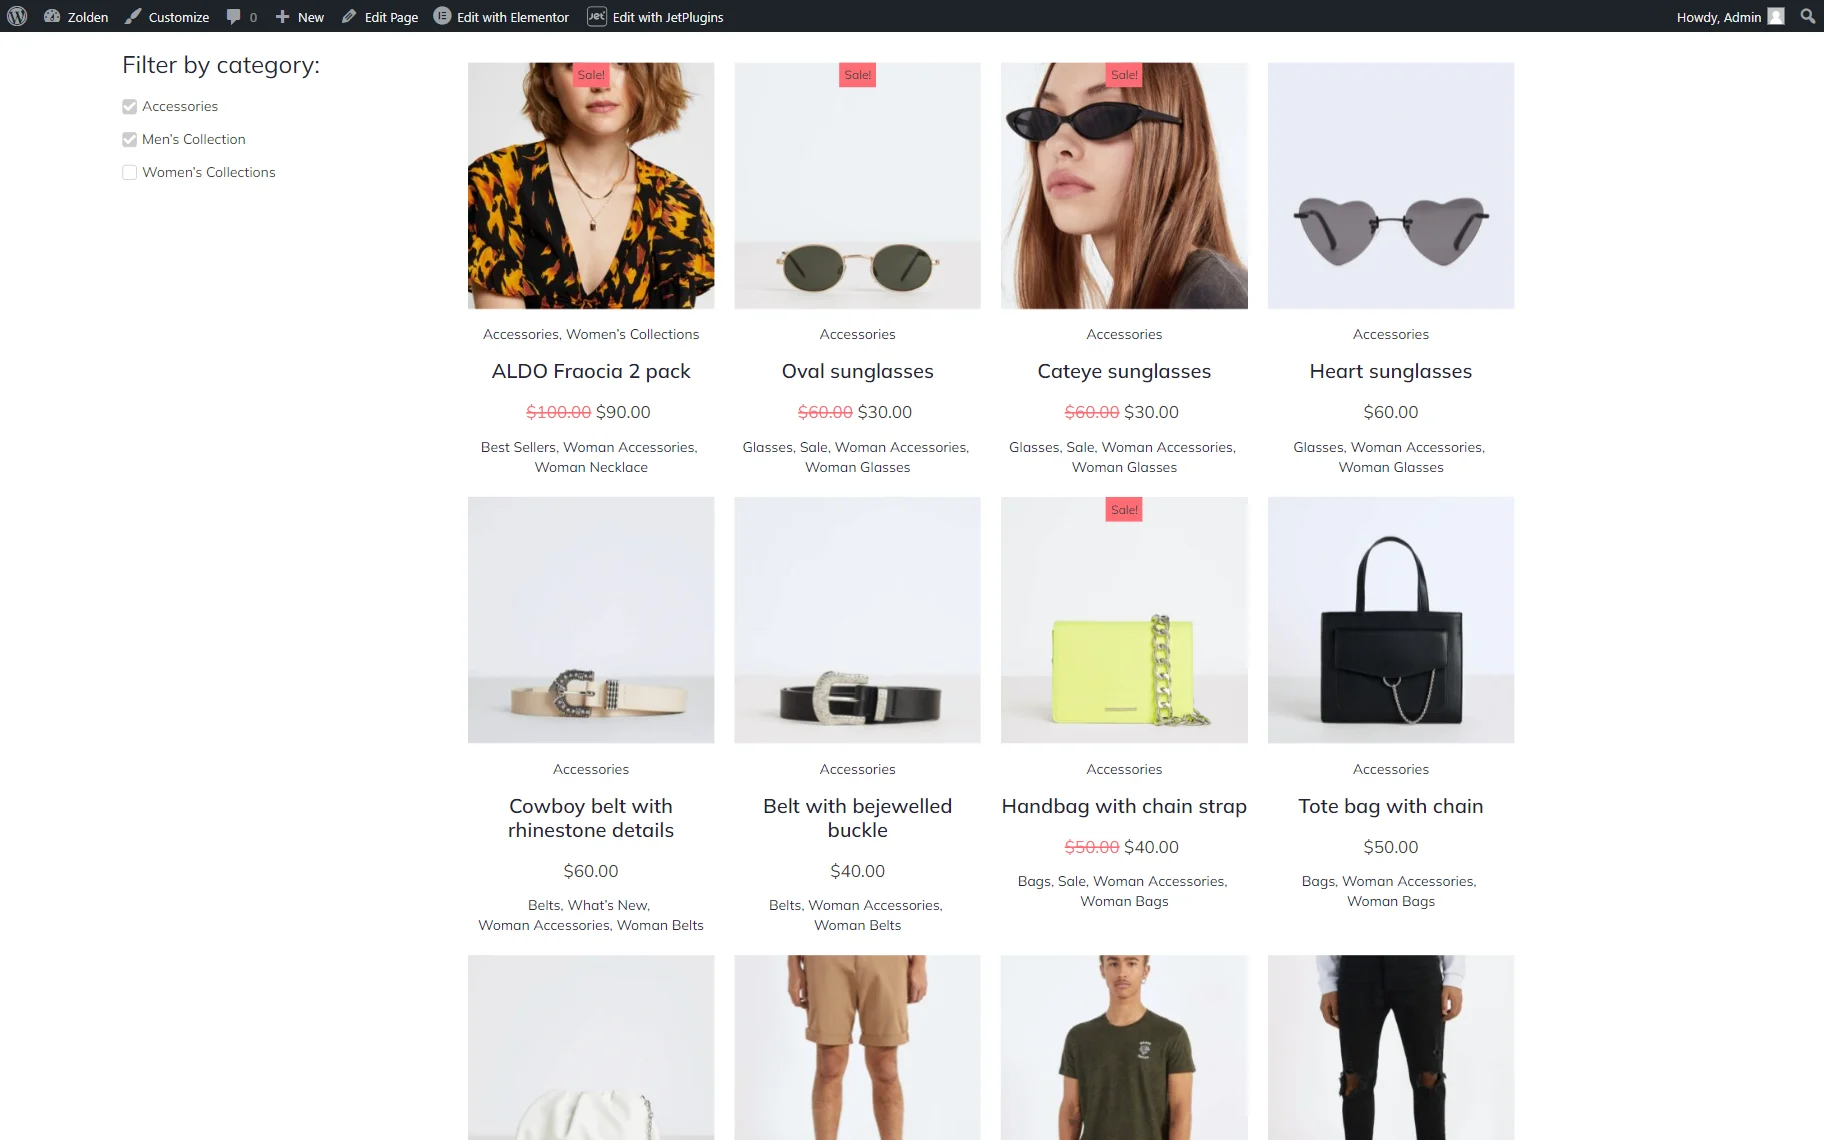
Open the just-edited page on the front end. Select one of the options to check if the filter works correctly.

If the “Checkboxes list” Filter Type was selected, you can check several options to filter the Products Grid.
That’s all. Now you know how to create a filter based on the WooCommerce products categories using the JetSmartFilters plugin for WordPress.


