

This tutorial explains how to enable Wishlist functionality for WooCommerce products using the JetCompareWishlist plugin.
Before you start, check the tutorial requirements:
- JetCompareWishlist plugin installed and activated
- WooCommerce plugin installed and activated
The JetCompareWishlist plugin is a tool for creating comparison lists and wishlists. Wishlist functionality allows the user to save the products they like to a separate list and then go through it any time they want on the Wishlist page without searching those products all over the site.
Open the JetCompareWishlist Settings
Open the WordPress Dashboard of your website and proceed toCrocoblock > JetPlugins Settings > JetCompareWishlist. In the following screen, unroll the Wishlist Settings tab. There are such options:
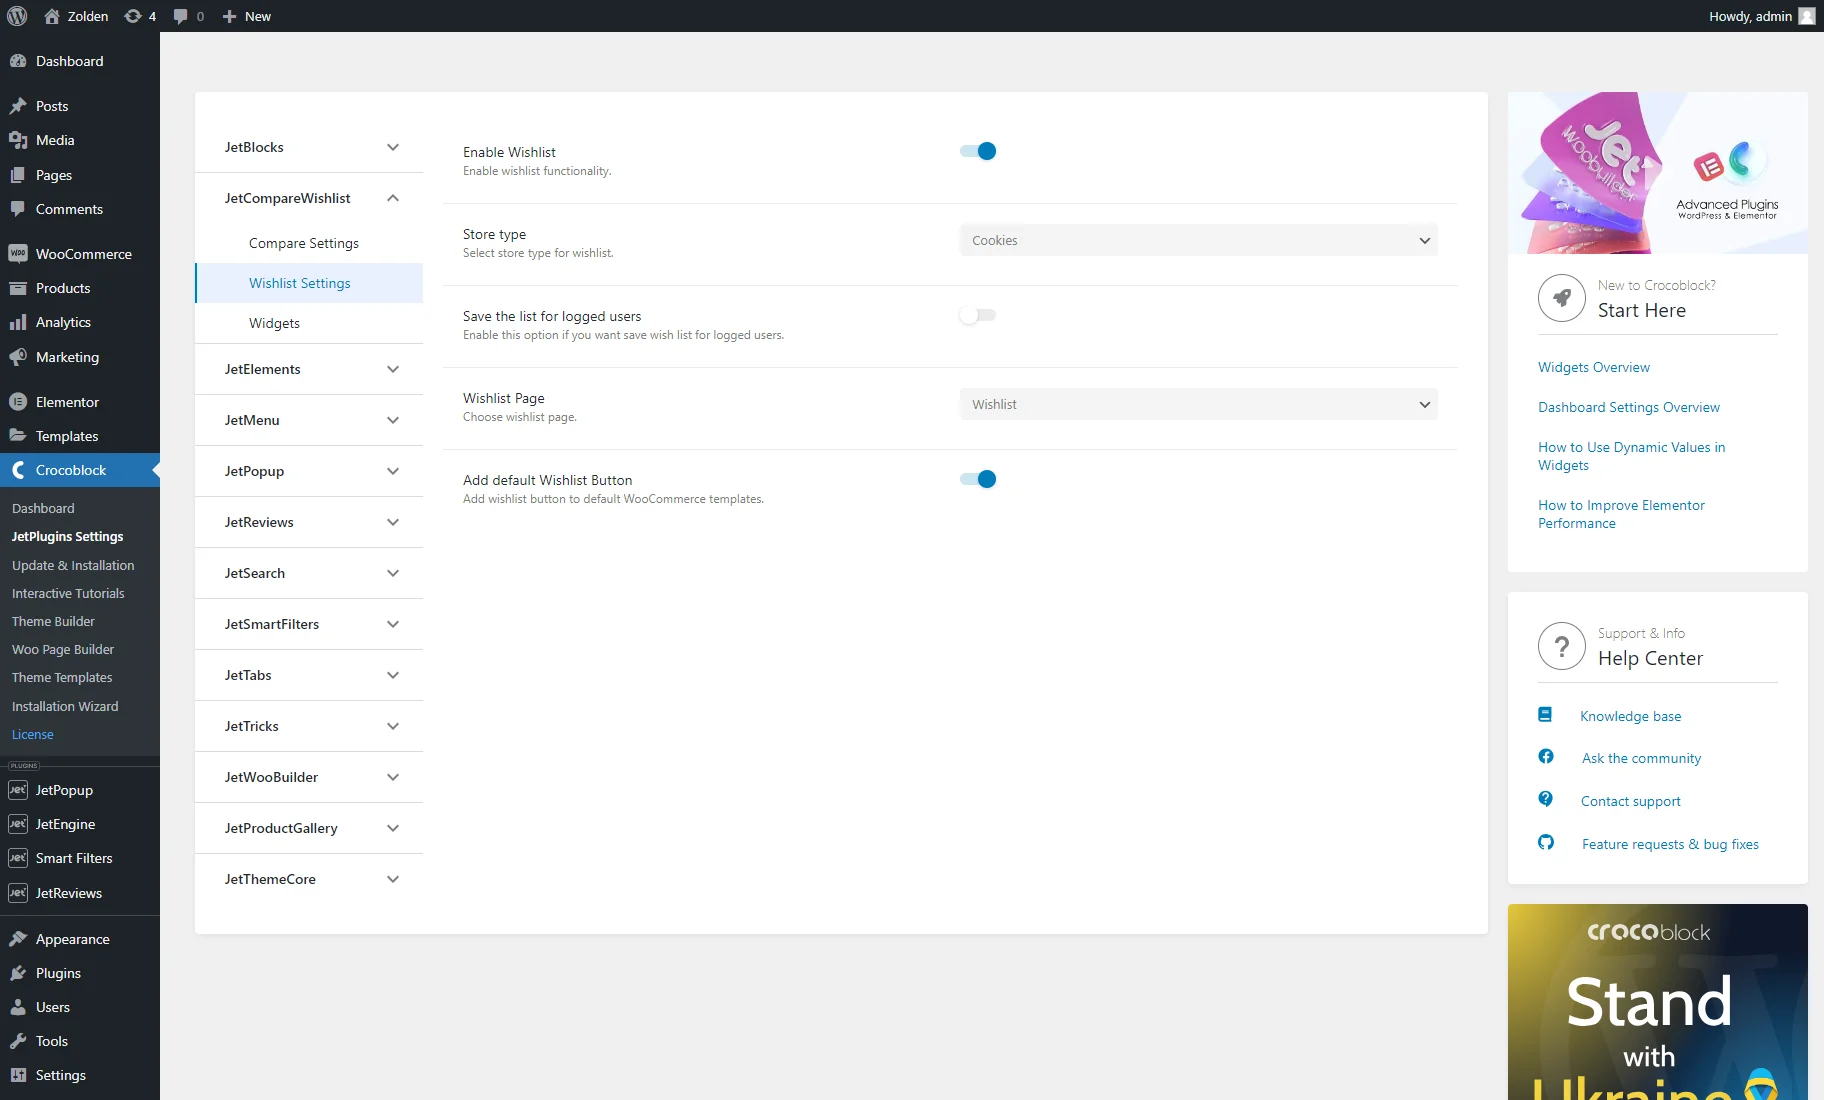
- Enable Wishlist — if turned on, this toggle activates the wishlist functionality;
- Store Type — a dropdown list with the “Session” and “Cookies” options;
- Save for logged users — if enabled, this toggle saves a wishlist for logged-in users, allowing them to access it again the next time they visit the website;
- Wishlist Page — a drop-down menu where the page can be selected where you want the wishlist to be shown. Learn more from the How to Create a Wishlist Page tutorial;
- Add default wishlist button — if enabled, this toggle allows adding a wishlist button to default WooCommerce templates.
Enable Widgets
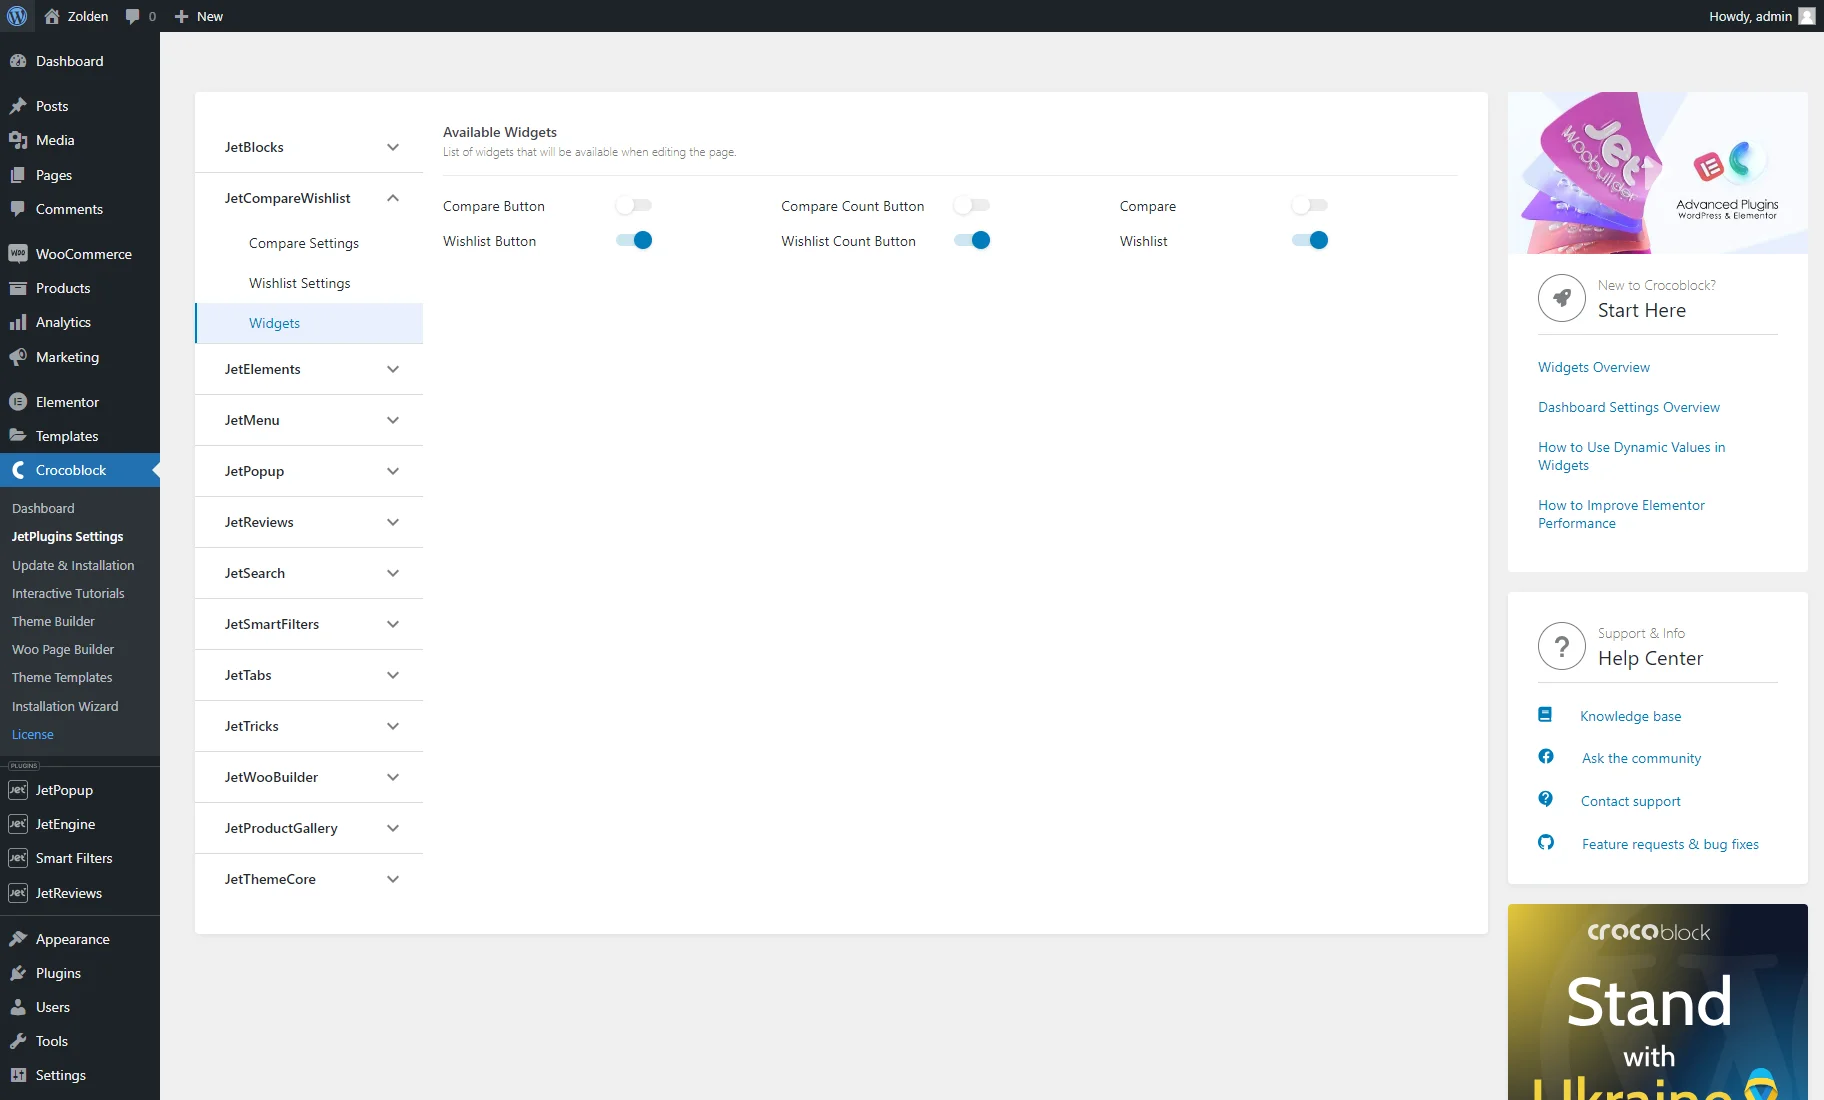
When you finish with the settings, go to the Widgets tab. Here, you will see the list of widgets that will be available when editing the page. Enable the Wishlist, Wishlist Button, and Wishlist Count Button toggles.
Things to know
To optimize the website work process, you can turn off the unrequired widgets.
That’s all. Now you know how to enable the wishlist functionality of the JetCompareWishlist plugin for your WordPress website.

