

This tutorial will help you to customize the horizontal layout of the product images using the JetProductGallery plugin for WordPress.
Before you start, check the tutorial requirements:
- Elementor (Free version) or Block editor (Gutenberg)
- JetProductGallery plugin installed and activated
Customize the Slider
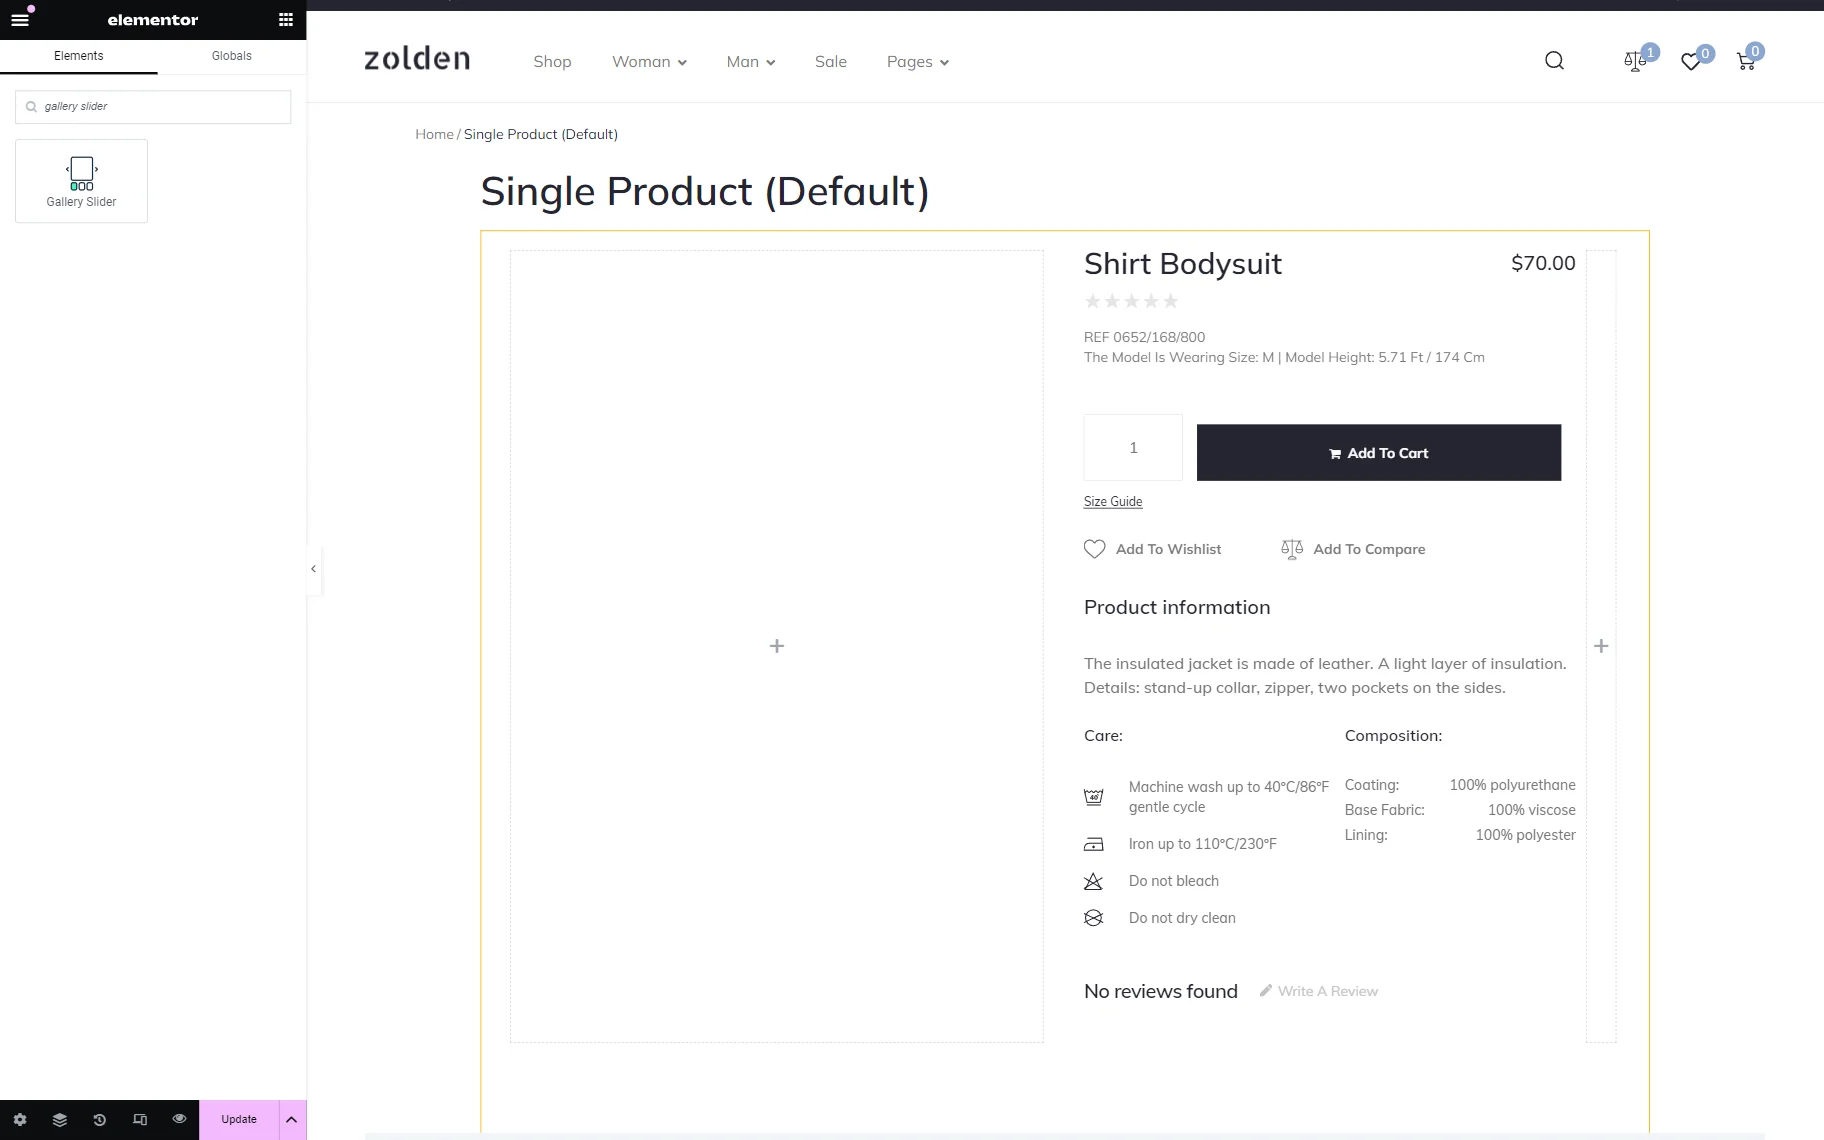
Initially, open the page editor (it can be Elementor or Block Editor) where you want to add the Gallery Slider widget/block. For instance, we work with the Single Product template in Elementor (the settings in the Block Editor are the same).
Afterward, find the Gallery Slider widget in the search panel and drag it to a suitable location.
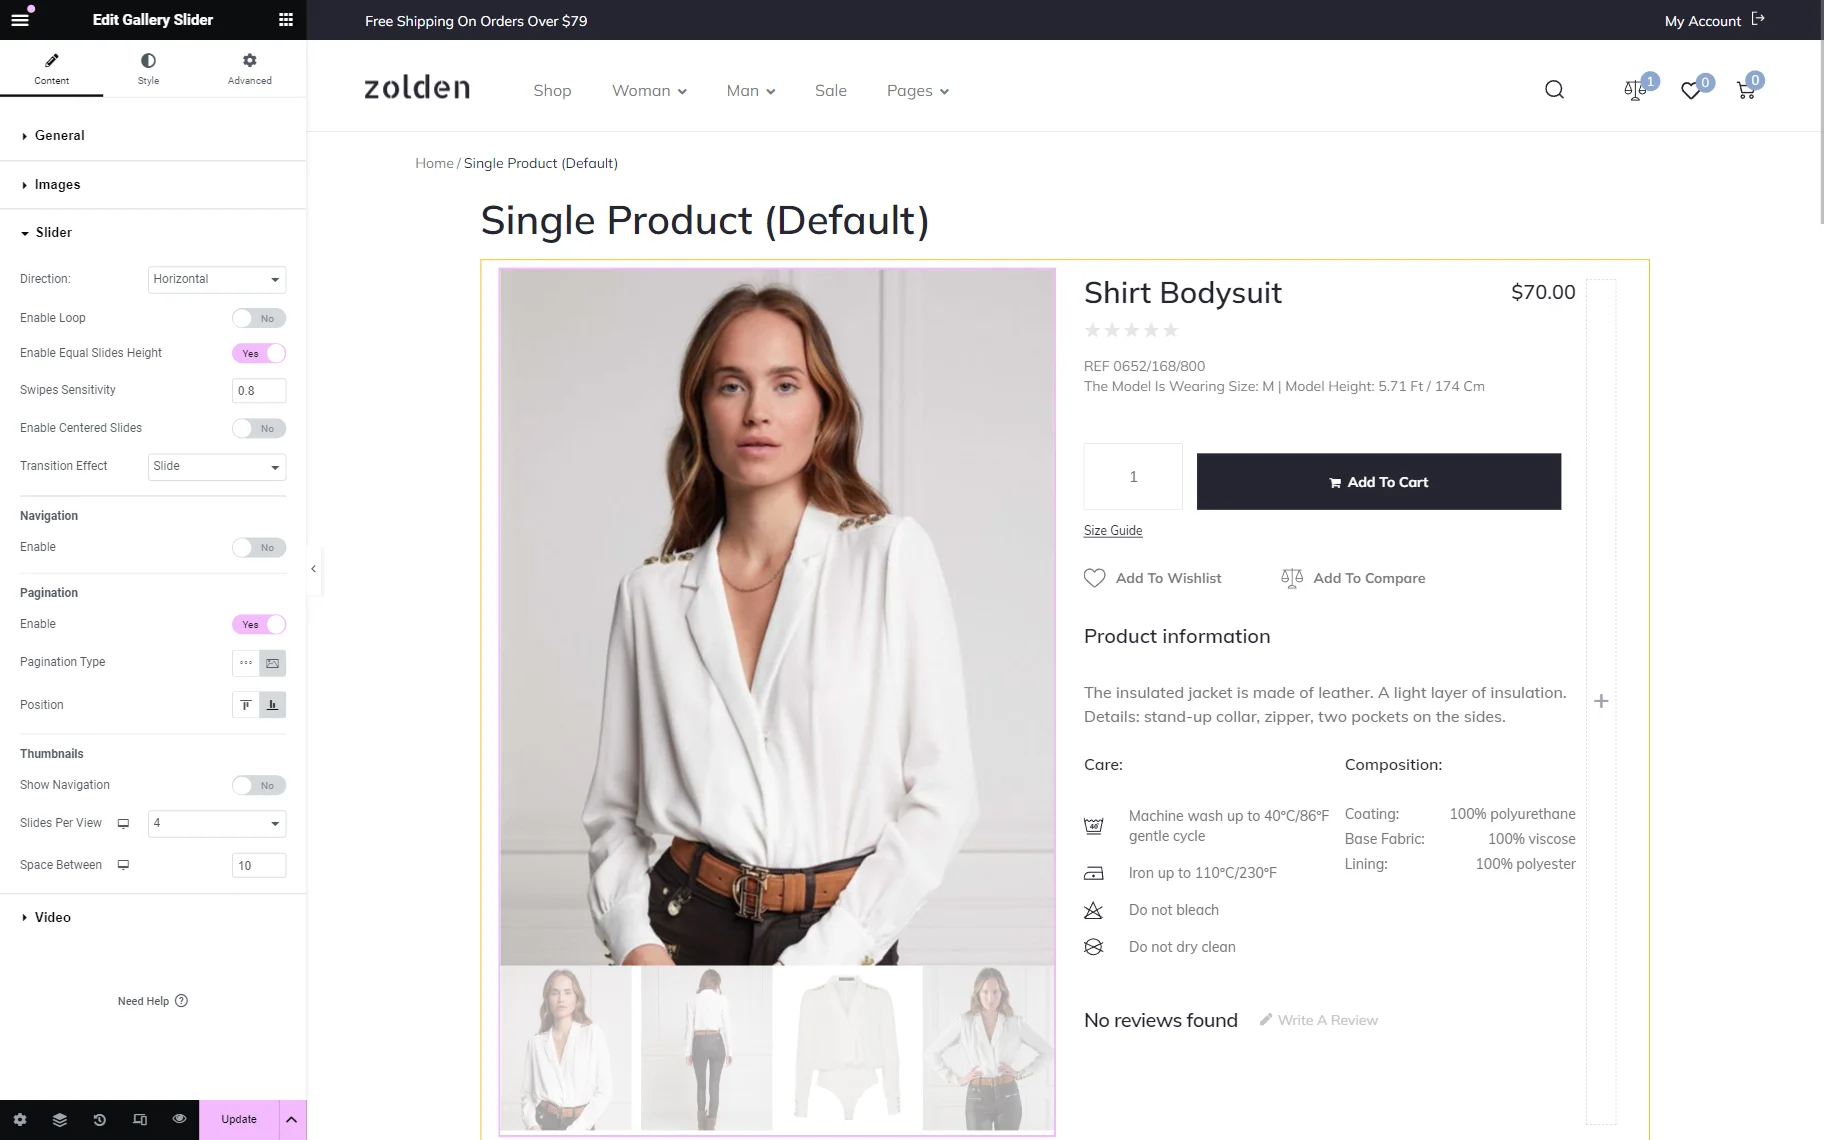
In the General Settings tab of the widget, we define “WooCommerce Products” as Source. Feel free to select any preferred option and customize this tab as desired.

To create a horizontal images slider, navigate to the Slider tab and set Direction to “Horizontal.”
Also, adjust other settings if needed. For instance, we activated the Enable toggle in the Pagination section and set the Pagination Type to “Thumbnails” to show the following images below the main image.
After completing all customizations, click the “Publish/Update” button.
Check the Result
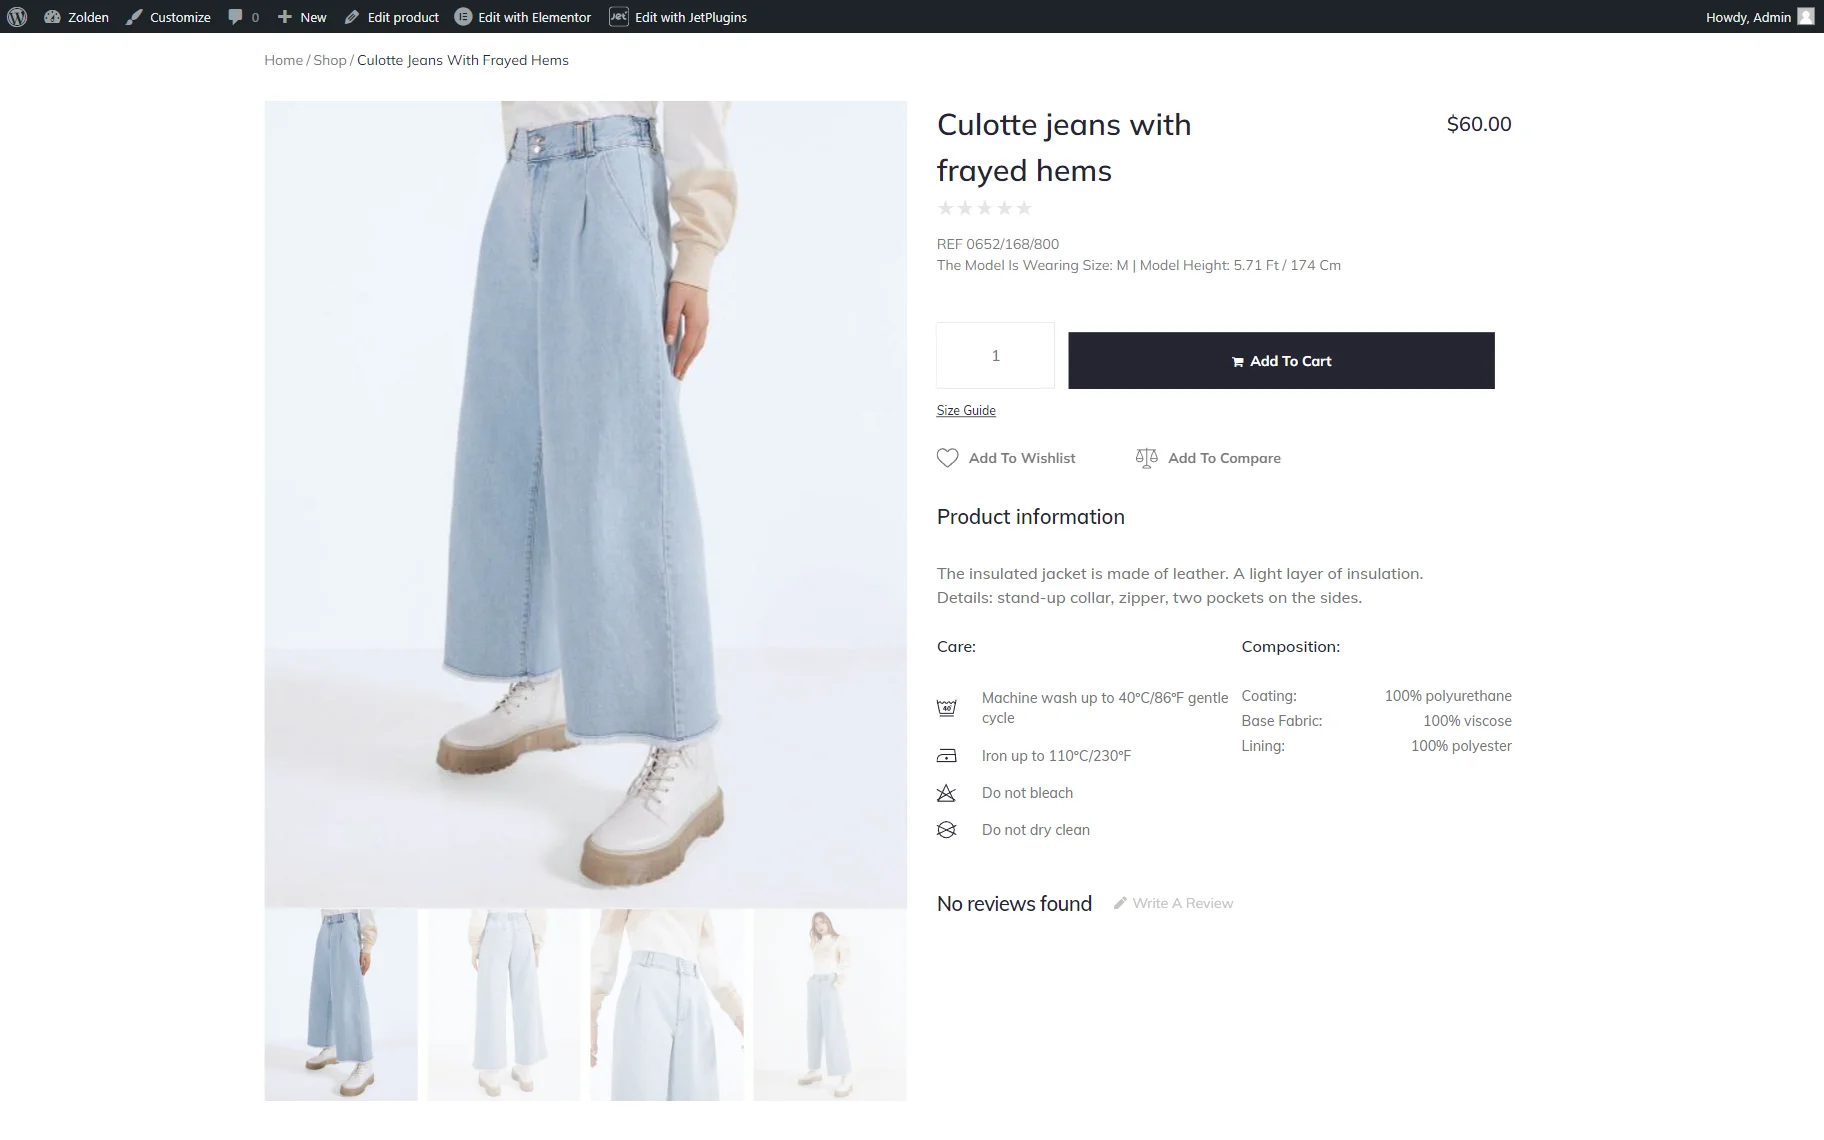
Go to the front end page to check the result. We opened a random product as we worked with the Single Product template.
Now, with the Gallery Slider, we can slide photos of the opened product.
That’s all; now you know how to create a horizontal product image slider using the JetProductGallery plugin for WordPress.

