

This guide describes the settings of the WooCommerce Shopping Cart widget available with the JetBlocks plugin.
JetBlocks, in cooperation with the JetThemeCore plugin, allows one to add and customize lots of important content, such as the site logo or search bar, to the header and footer of the website. A shopping cart is one of the elements that can be added when using the WooCommerce plugin.
The Shopping Cart widget is a useful tool for any online store, making it easy to show the number of chosen items and their total price. It can be very convenient for the user to continue viewing the goods on the site and have a constant look at the total price.
In this tutorial, we’ll check how to quickly add a WooCommerce Shopping Cart to the header using JetBlocks.
Adding the Widget to the Header
First, the JetThemeCore and WooCommerce plugins should be installed and activated on the website. JetThemeCore allows one to edit the header, and WooCommerce is responsible for the shop functionalities.
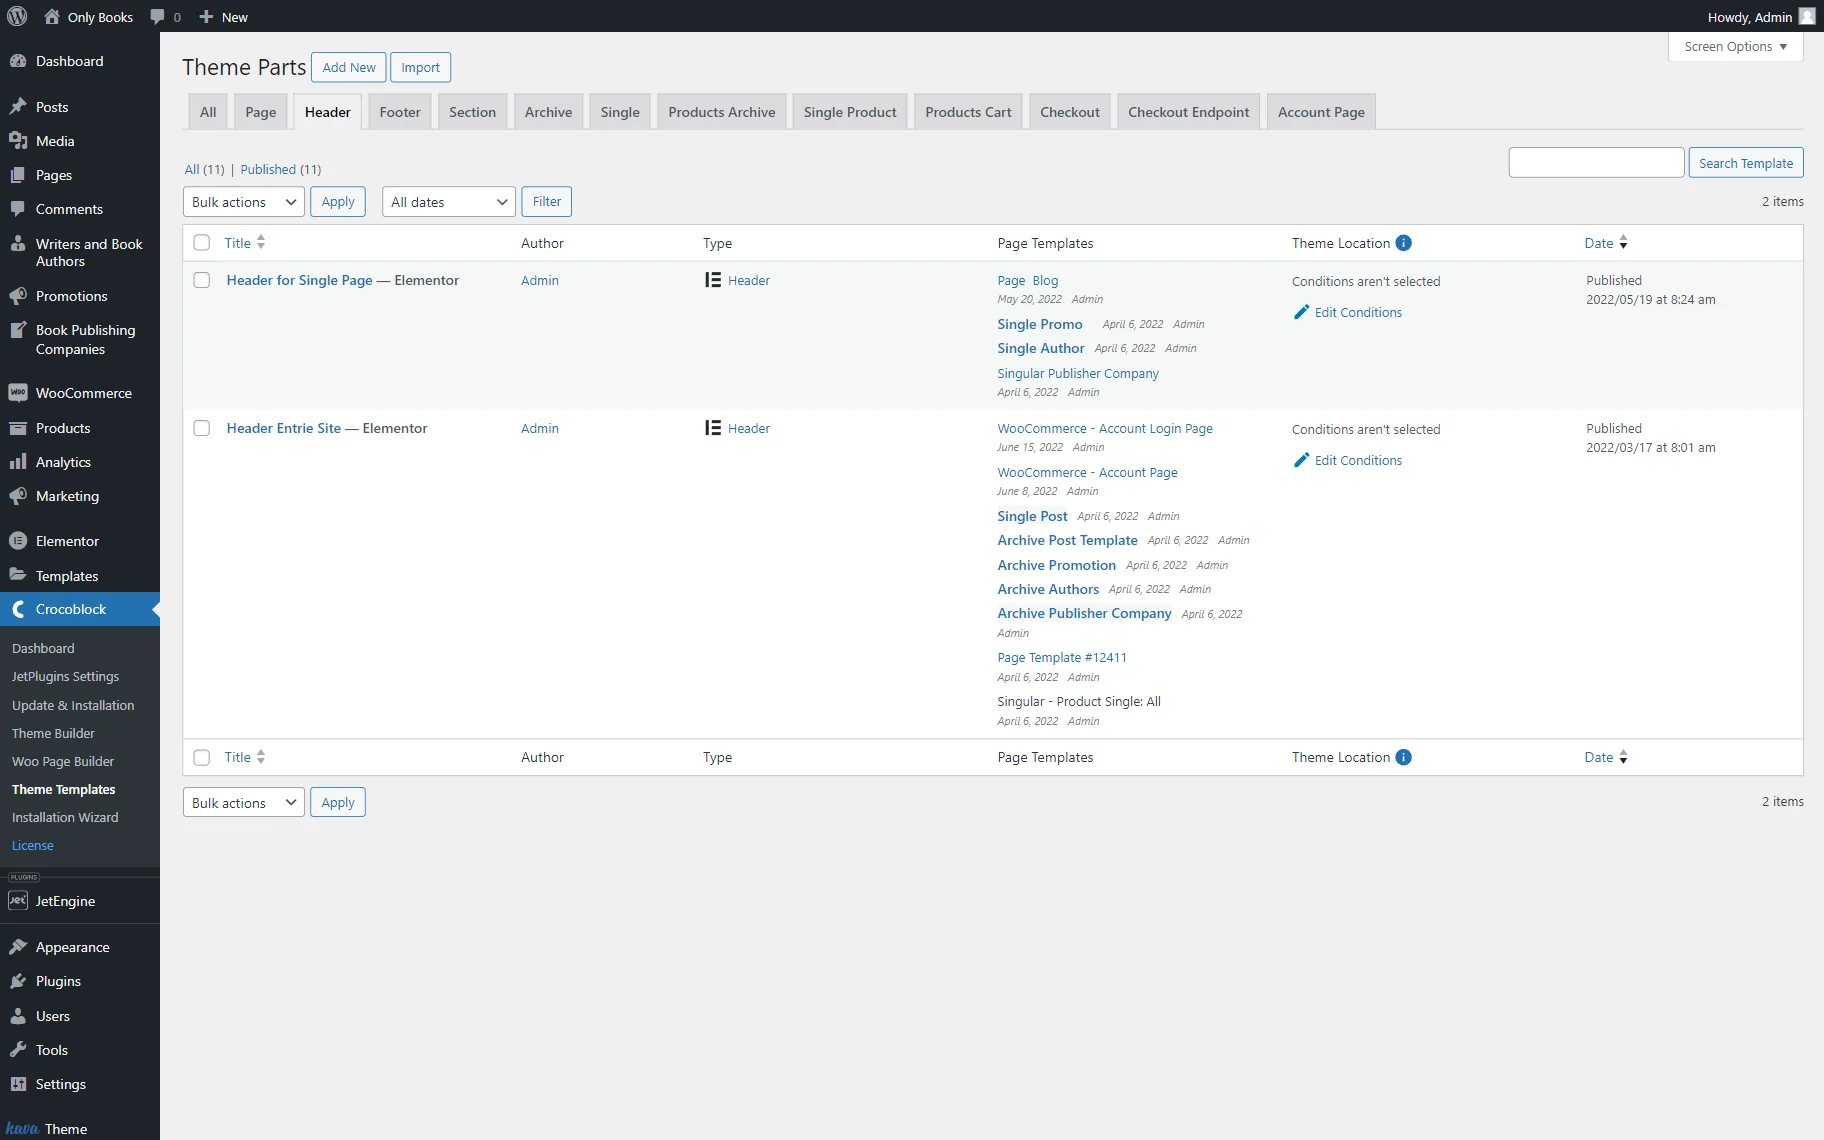
Now, one should navigate to the WordPress Dashboard > Crocoblock > Theme Builder directory and open the Header tab.
An existing header should now be selected, or the “Add New” button should be clicked.
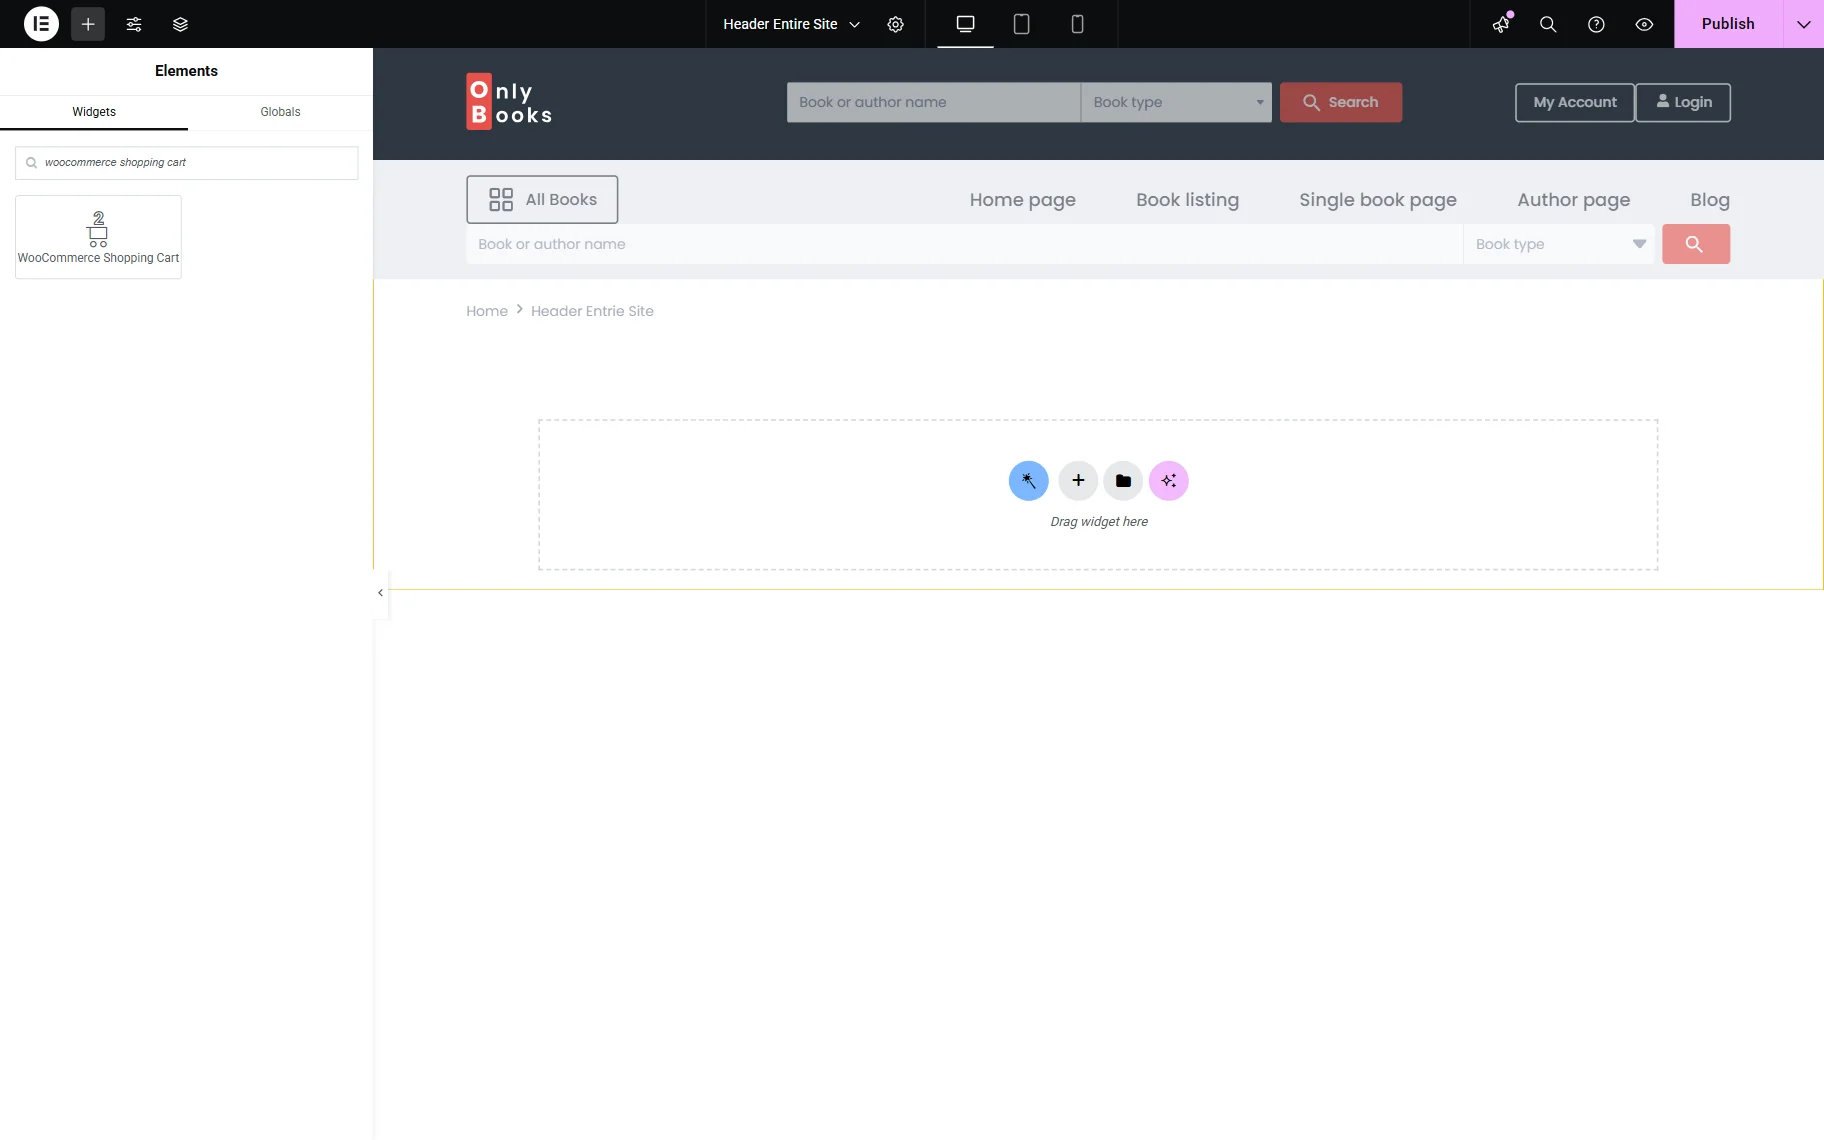
In the left-side menu of the Elementor page builder editing page, the WooCommerce Shopping Cart widget should be found. It can be dropped to any needed page section.
WooCommerce Shopping Cart Settings
The widget Settings tab fields can now be adjusted:

- Label — the title of the shopping cart that will be visible to users;
- Icon — the icon displayed to the label, it can be selected from the Icon Library or uploaded like a custom SVG file;
- Hide Cart When Empty — a toggle that should be activated to hide a cart icon when the cart is empty;
- Show Products Count — a toggle that, if enabled, displays the number of items users added to the cart;
- Products Count Format — a product count format field. Here, one can show not just the number of items, but insert that number into a phrase. One should type it here and use the %s macro code for the items number;
- Show Cart Subtotal — a toggle that should be turned on if one wants to show the total price of all added items to the user;
- Cart Subtotal Format —a field that appears when the Show Cart Subtotal toggle is active. Here, one can set the look of the Cart Subtotal number. One should use %s macro code for the sum;
- Show Cart Dropdown — a toggle that should be enabled if one wants to give the user an opportunity to see all the items added to the cart in the dropdown list;
- Open Cart Dropdown on Product Add — a toggle that, when activated, opens a mini cart once a new product is added to the cart;
- Show Trigger Type — the drop-down list can appear on “Hover” or after a “Click” on the cart;
- Layout Type — the list of items can appear as a “Dropdown” or “Slide Out” from the right side of the screen.
When one selects the “Slide Out” Layout Type, the Show Overlay Color toggle appears. Enabling this toggle allows selecting the Overlay Color that will cover the area of the page next to the sliding section.

- Cart Dropdown Label — the text that will be placed on the top of the cart list.
Lastly, once the Shopping Cart is customized and styled, the page should be updated.
That’s it about the Shopping Cart widget available as a part of the JetBlocks plugin for WordPress websites.

